Showing posts with label Kim Calderone. Show all posts

Tuesday, December 11, 2012

Crit Reflection and Documented Images

I really enjoyed the feedback from Julia about the box being like a coffin.  I entertained the thought of it being like a jewelry box, cigar box, and treasure box - happy precious items - but it didn't cross my mind that it was also like a coffin or an urn, still items of precious value, but in a solemn, sentimental, or even morbid way.  I like the element of sinister that this idea brings to the piece.  If we were to expand on this, we could emphasize that aspect more to add more dimension to the concept.
When we had the piece up and running, I saw the interior of the box as being more galaxy-like than I expected as well.  I think the clay/dirt facade being silhouetted by the dim lights was part of this issue.  However,  I didn't mind it - the galactic appearance gave the interior of the box a Narnia kind of feel, which was pretty cool and part of what we were going for.
Despite some debate over whether the quote on the box was necessary, I still think it was important to direct the ideas of the viewer to the earth - especially since in the interior was going in more of a galactic direction.  However, I love and encourage different interpretations because, after all, that's what art affords!  But I do agree in hindsight that the quote may have functioned better on the interior of the box.
I think Kerry and I were self-conscious that we had some obvious problems with the clay inside the box, and we just didn't want anyone to point it out as if we didn't know, haha.  But thankfully, I don't even think our mistakes were as evident as we thought because of the darkness inside the box.

Here are some documented images & videos from crit day!


Monday, December 10, 2012

Final Process

I thought that we got a lot of good feedback during our crit, I like the idea of making this tunnel like way of viewing the piece with fabric so that your view is more directed. When we were making the designs for the outside of the box for the laser cutter we went back and forth on what to do for a design, originally we thought about making some kind of diamond design then settled on the quote, we thought it directly related with what was going on, we had no need to beat around the bush. I do like the idea about putting on the inside though when you open the lid. And I will never note our troubles before crit again! It was really bothersome to us after putting all the sides together that they were cracking because the clay was horrible, but we did spray a sealer over the other sides that made it stay better then the one side. I kind of liked how people saw it as this sort of galaxy type experience with the lights and how they showed through the gems. It adds this layer of intrigue to the viewer as they approach and open the box. We kept the sound on as a way to have people want to open the jewelry box to see what or why sound was coming from inside. It was larger then normal to complete this idea of over consumption and need of peoples desires.  

Sunday, December 9, 2012

Videos of the Jewelry Box

Below are two videos of the box and the technology working (the second one shows the exterior of the box a little bit as well as the inside).  We had some trouble with fitting the "diamond mine" facade into the actual box.  First it was way too big so we trimmed it down, but it was still too snug and the protruding gems kept snagging the LED strip off the inside of the box.  The third time fixed the problem, but we were left with a decent gap all the way around, so we will be fixing that.

I love how the actual box came out.  The design is really simple, but the color of the stain as well as the quote give the box a sense of "specialness", for lack of a better word.  The over-sized nature of the box likens it to something between a jewelry box, a cigar box, and a treasure chest - all of which function as containers for precious items.  The viewer may assume that whatever the box contains is something highly esteemed.  While approaching the box, the viewer hears the whistling sounds of a windy cavern, attracting their curiosity to see what is inside.  When the box is opened, a rocky surface encrusted with gems begins to glow green.  Although we originally wanted the gems to be illuminated in blue, due to our technical difficulties with the blue LEDs, we were forced to switch to green, but it turned out to be a change for the better.  Green is very symbolic in reference to greediness, such as the expression "green with envy" as well as slang terms for money, further supporting our concepts of consumption, excess, greediness, and temptation.  The green glow behind the gems has a creepier feel than I expected.  I imagined it just making the gems twinkle tauntingly, but it actually gives them a kind of eeriness.

The quote we chose for the front of the box was "Earth provides enough to satisfy every man's need, but not every man's greed", spoken by Gandhi.  We thought it was very fitting because it plays on the irony that diamonds come from the earth and there are plenty of them, but there will never be enough of them to satisfy humanity's desire for "more and bigger".  Just like oil, one day we will run out of naturally formed diamonds.  They have already started artificially forming them in labs by mimicking the conditions of the earth's temperature, pressure, and composition, just expediting the process.

Reiterating the phrase from the previous paragraph, "more" and "bigger" are abstract ideas that can be applied to any desired consumer good.  We are always looking to supersize things and collect things,  but there is something about both of those yearnings that is never quite satiated.  The jewelry box exists in an imagined, future generation in which people have their own diamond mines, for convenience and for multiplicity.  Perhaps a person's desire will be so extreme and unquenchable that they constantly need more gems, reforming new ones where the last one was taken.

https://vimeo.com/55247164

https://vimeo.com/55247165

Final Progress


Added the finishing touches to the jewelry box today, then got everything inside ready to go. Kim will post the videos of it working. It is a very oversized jewelry box to emphasis what is on the inside, we got the lights working blue but not bright enough so it fades blue and green. For some reason the blue part of the LED strip is just not working on the different sections we tried, or if it is it is barley noticeable that it is on. 


Progress

We laser cut the board! : 

Stained and almost all put together: 

 Gem walls in progress:

 Bad picture, but example of light threw the gems:

Tuesday, November 27, 2012

Conceptualizing

Jewelry box design ideas:
-Design for the top, maybe just a simple diamond outline
-Beveled edges for side panels
-Some kind of quote for the front or top panel?
-Styles of box from examples like this:
http://www.mywoodbowl.com/2012/01/jewelry-boxes.html 


Frost yourself:
http://youtu.be/txaXm66ifl4

Conceptual Thoughts:
-Jewelry boxes function as containers for valued possessions
-Their sizes afford for human personal use
-Lids/locks allow for secret and safe keeping
-Jewels represent objects of consumption
-Jewelry boxes are typically for women with an expensive assortment of jewelry
-The idea of having one's own diamond mine for personal use is a statement of excess and greediness, especially with an oversized jewelry box, which implies that a normal sized one would be too small to fit all of a person's jewels.


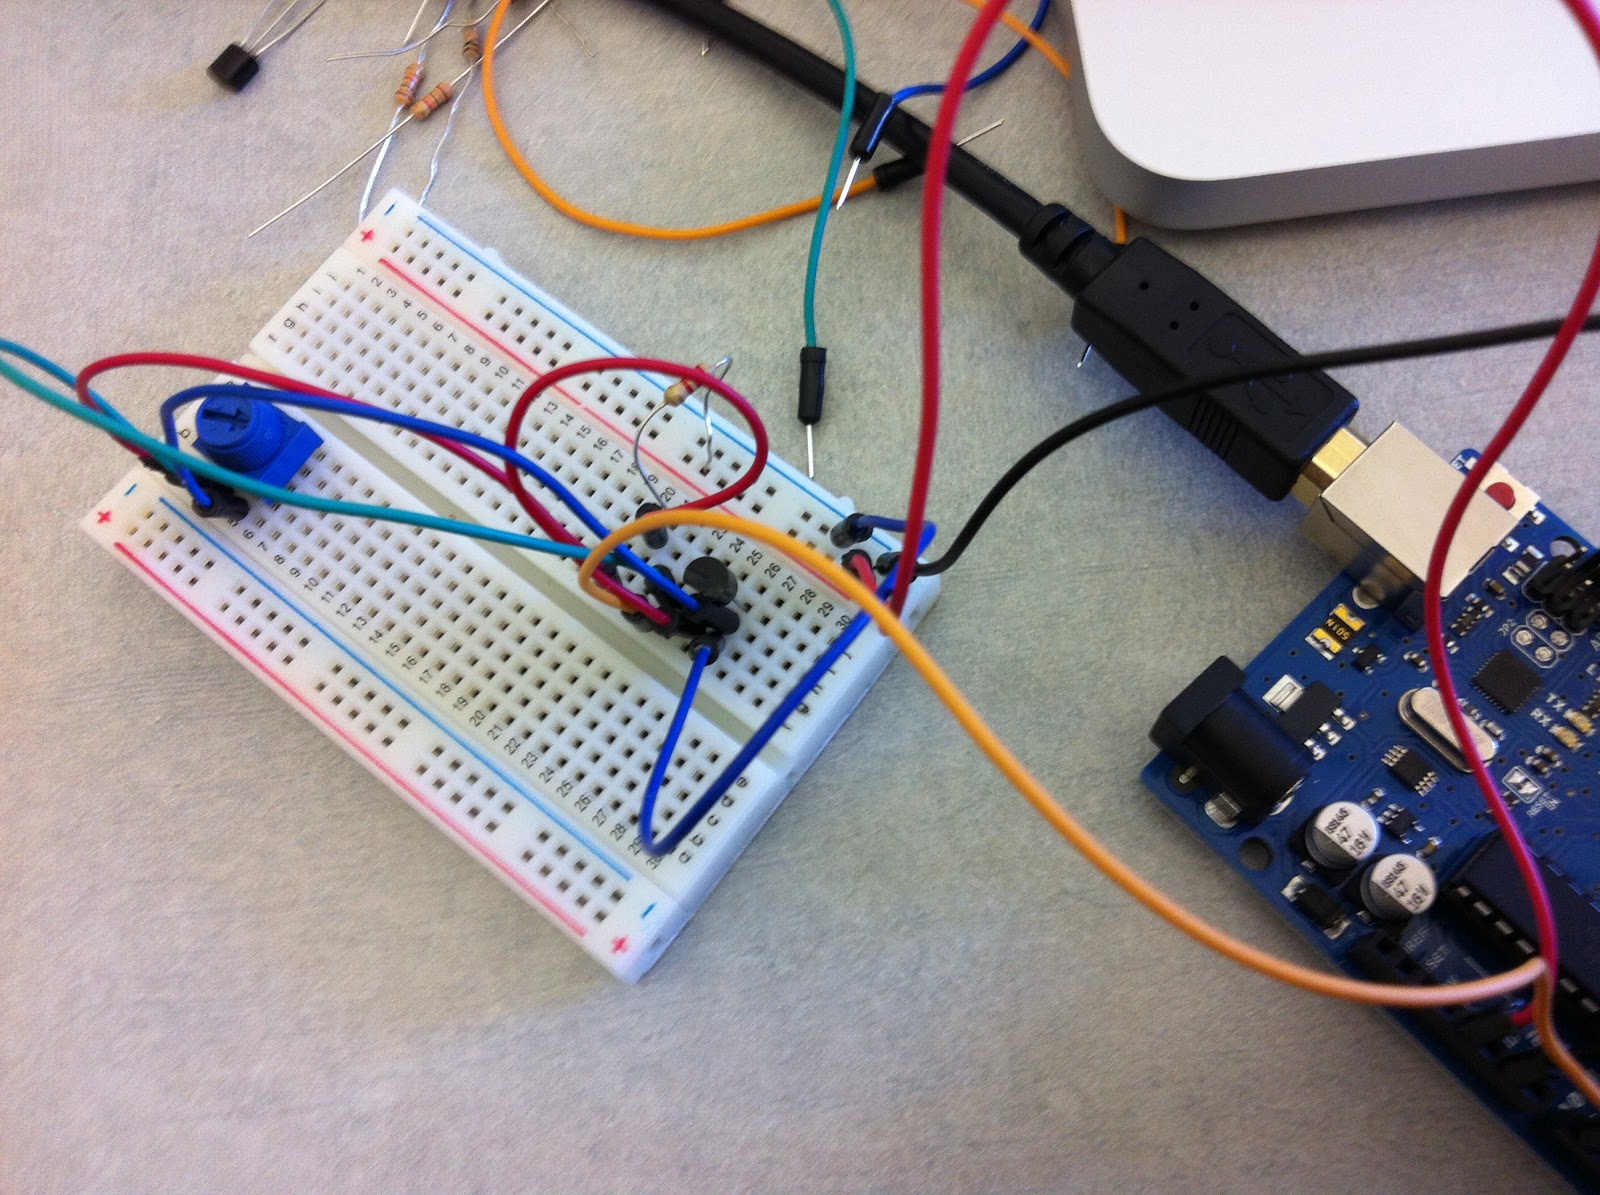
Stuff is working..Yay

The LED strip working:


The set up for the LED strip:


This is the light sensor tutorial from Beginning Arduino, we were going to use the Ultra Sonic Range Finder but realized that it might be better to use the light sensor if we have it on the lip of the box so when someone opens the box the lights will be triggered by the light of the room. We still have to make them work together and the coding for the light sensor to turn off instead of just slow down.


Monday, November 26, 2012

RGB LED strip

So going to try and use the RGB LED strip instead of the christmas lights, could help out with different effects as well. With being able to use more then just white, but use maybe like the soft blue you can see in the video from the tutorial below.


http://www.ladyada.net/products/rgbledstrip/

Found the data sheet for it as well:

http://www.sparkfun.com/datasheets/Components/LED/FLB6%205060RGB%28150%29%20Waterproof%20FLEX%20STRIP.pdf

Sunday, November 25, 2012

Hacking nonsense

So started to do the tutorial found about hacking the LED christmas lights, and running into some problems. We dont have all the right transistors and cant get more then one light working. If we cant get them working we will use singular LEDs to create the same effect. Also did the tutorial for the ultra sonic range finder to test and see how it works since we have not used one yet. The ones I found had really bad soldering jobs, tried to fix them but they still didnt work either, so we shall see if there is anymore that someone else had from the first project. 


Saturday, November 10, 2012

Final Process

Before we go out and buy lights to try and hack I wanted to see what kind people were able to use. Most of the blogs or things I have found used the big GE Color Effects G-35 which would probably be to big and are said to be like $30. Looking up more on hacking x-mas lights I came across this link:

http://www.instructables.com/id/Just-in-time-for-the-holidays-Hack-yourself-a-me/

where they use just simple LED color lights that are like $3-5 to add a effect to them. And since we wouldn't be using color lights most likely just white to create the diamond effect this seems like a better place to start.

It gives us step by step on how to test and connect the lights up with the arduino and includes code. Here is one of the diagrams for the set up.


Many places sell fake craft diamonds or gems that will work well if we break them up and place them within the wall of the jewelry box. 


Wednesday, November 7, 2012

Pro 17&18


I took a picture instead of a video by accident.

Monday, November 5, 2012

Final Project Proposal


Our project deals with excessive consumerism, in the form of precious gems, which are considered to be one of the most valuable consumer items.  Having a seemingly bottomless box of jewels gives them a sense of ease in accessibility and accumulation of wealth, which is unrealistic for the average person, but society and the media make it seem possible, and even encourage it.  Our project will look like a jewelry box on the exterior, but upon opening it, the viewer will see a diamond-encrusted rocky interior. We will use a motion sensor to detect the viewer opening the box, which will trigger the glow behind the gems as well as possible audio, which would be jewelry box music or the atmosphere type sounds that one would hear being in a diamond mine.  We plan on trying to hack Christmas lights to create a kind of shimmery sparkle behind the gems.  If hacking Christmas lights does not work out, we will just use LEDs to create the effect.


Hacking X-Mas lights 
Audio Controlled Lights


Monday, October 29, 2012

Sunday, October 21, 2012

Codes and Stuff


I have all of the code available here in all of the stages
View it as follows, LEDPractice is first, then archive0 is oldest, highest number is most recent archive, current is current.
https://github.com/tgreena/Sensors/tree/master/SensorsProject1-LED
Here is another backup I did, I forget at which point this was though... http://pastebin.com/5ThjKNBd

I figured out a way to display words on the LED without having to use those large obnoxious matrices of 1's and 0's how we had it earlier https://github.com/tgreena/Sensors/tree/master/SensorsProject1-LED
What was happening with the matrices was if you tried to display too many characters in a row or have too many words totally on on the board, the arduino would run out of memory and wouldn't display anything. The work around for this was to find an alternative way to display characters on the arduino, because the large matrices weren't cutting it. Luckily I had been browsing arduino and raspberry pi forums and I came across this post http://kimondo.co.uk/raspberry-pi-arduino-8x8-led-matrix/ about using an arduino and a raspberry pi to control an 8x8 LED matrix with Python. I literally thought to myself "jackpot!" I seriously found the post Saturday. I looked and saw they were using an interesting way of converting hexadecimals into keyboard characters. I was able to cut out and rearrange the code into the code I was working with to replaced all those matrices with nice hexadecimal codes for all the characters. Another thing was I went around from if statements with conditionals to the random number generator to pick a random string. At first I was using the arduino random(int,int) function. It totally sucks because it picks the same numbers every time in the same order. So much for random… Well I got a library that does true random and added it in there.

The last problem was the microphone sample happened so fast that unless you are talking at that exact moment of the sample, it wouldn't catch it. What I did was I made the microphone sample the volume several times very quickly, and each time it sampled it it would keep the loudest value. It ended up working really well because it gives the viewer an opportunity for their voice to be heard.


On a side note
http://codeandlife.com/2012/07/29/arduino-and-raspberry-pi-serial-communication/
I started looking into it more and I found a guide on using the Arduino and the raspberry pi with serial communication in addition to the 8x8 LED matrix with the arduino and raspberry pi. I am interested in doing a tutorial for the class once I figure it out.

Skycraft Pictures


http://imgur.com/a/y2EH7#12

Wednesday, October 17, 2012

Monday, October 15, 2012

Midterm Project Concept

Our project has evolved from directly translating visual information into LEDs to using the LEDs as a visual response to sound.  The viewer will approach the box containing the LEDs (which we anticipate to be a square-base pyramid with a hole cut into the top) and will peer inside the box.  The LEDs will be scrolling a message by default that incites the viewer to vocalize into the box.  By nature, the viewer will probably at first speak into the box at a normal or quiet tone.  The message on the LEDs will change, provoking the viewer to heighten the tone of their voice.  The viewer will then try again, this process repeating until the viewer is yelling into the box.  Once the voice reaches a loud enough tone (breaking a threshold that we designate in the code), the box will instead give the viewer praise for his or her loudness.
The box functions as a device that praises a certain kind of behavior and provokes the viewer to conform to it.  Loud vocal tones (which can either be aggressive and commanding by nature or can be interpreted as such) seem to be widely accepted as "stronger" in many situations in society.  Because the voice is louder and more commanding, the content it speaks is deemed better and more important, despite the actual meaning of what is said.  Extroverted individuals, by definition, speak as they think, and therefore are more talkative, seeming more "friendly", and are more likely to voice their opinions.  An article explaining the difference between extroverts and introverts agrees that "extrovert behavior seems to be the standard in American society, which means that other behavior is judged against the ways an extrovert would behave" (Bainbridge).  I hypothesize that those who interact with the box that are extroverted will reach that loudness threshold first, and will be rewarded more quickly.  The introverts that interact with the box will have to go through some inciting and provoking before they reach that loudness level, providing that they continue to interact and are up for some stepping out of the comfort zone.  After the introverts interact with the box, they will have behaved in an extroverted way that diverts from their normal behavior.  The box, in a way, "trains" the introvert to be louder, through negative/positive reinforcement.


Bainbridge, Carol. "Extrovert." giftedkids.about.com. About.com. Web. 15 Oct 2012. <http://giftedkids.about.com/od/glossary/g/extrovert.htm>.