
Showing posts with label tyra king. Show all posts
Showing posts with label tyra king. Show all posts
Monday, December 14, 2015


Wednesday, December 9, 2015


Process
I changed my concept for my final project to media (television) manipulation and censorship. Below is a plan for my interface.
 '
'
Plans for Tv Interface
Wednesday, December 2, 2015
RFID
"It'll be easy," they said. We struggled so much but we finally got it. Videos of the struggle and triumph are below. we had lots of errors at first. Some of the problem was with the Arduino on the lab computer. Jack and Michael helped us figure that out. Then we had issues with understanding what materials to use because the site does not say exactly. Then we are using a breadboard and the diagram on the site did not so it was more figuring things out. Others had issues with their LEDS but we fixed our issues with that. We eventually got it all to work, thanks Jack, Charlie, Michael, and God! Don't give up!

Monday, November 30, 2015

Friday, November 27, 2015
Mini Project turning into Final Project
For my mini project/final project i discovered it would be easier to use joysticks as long as i could figure out how to use it as a mouse control....which i did (see video below)
With this i feel that although using a joystick would be easier it also helps push my concept even more because of the direct human interaction.
// Global varibles:
int lastButtonState = LOW; // state of the button last time you checked
int lastButton2State = LOW; // state of the other button last time you checked
boolean mouseIsActive = false; // whether or not the Arduino is controlling the mouse
void setup() {
// initialize mouse control:
Mouse.begin();
// initialize serial communication:
Serial.begin(9600);
// make pin 2 an input, using the built-in pullup resistor:
pinMode(2, INPUT_PULLUP);
}
void loop() {
// read the first pushbutton:
int buttonState = digitalRead(2);
// if it's changed and it's high, toggle the mouse state:
if (buttonState != lastButtonState) {
if (buttonState == HIGH) {
// if mouseIsActive is true, make it false;
// if it's false, make it true:
mouseIsActive = !mouseIsActive;
Serial.print("Mouse control state" );
Serial.println(mouseIsActive);
}
}
// save button state for next comparison:
lastButtonState = buttonState;
// read the analog sensors:
int sensor1 = analogRead(A0);
delay(1);
int sensor2 = analogRead(A1);
int xAxis = map(sensor1, 0, 1023, -5, 5);
int yAxis = map(sensor2, 0, 1023, -5, 5);
// print their values. Remove this when you have things working:
Serial.print(xAxis);
Serial.print(" ");
Serial.println(yAxis);
if (mouseIsActive == true) {
Mouse.move(xAxis, yAxis, 0);
// read the second pushbutton:
int button2State = digitalRead(3);
// if it's changed and it's high, toggle the mouse state:
if (button2State != lastButton2State) {
if (button2State == LOW) {
Serial.println("mouse pressed");
Mouse.press();
}
else {
Serial.println("mouse released");
Mouse.release();
}
}
// save second button state for next comparison:
lastButton2State = button2State;
}
}
*what i liked about the importing the arduino sketch into processing is that you dont have to work around or worry about editing your code to be blended with the processing code. You can leave them as two separate entities and just tie them together with the import declaration.
// Global varibles:
int lastButtonState = LOW; // state of the button last time you checked
int lastButton2State = LOW; // state of the other button last time you checked
boolean mouseIsActive = false; // whether or not the Arduino is controlling the mouse
void setup() {
// initialize mouse control:
Mouse.begin();
// initialize serial communication:
Serial.begin(9600);
// make pin 2 an input, using the built-in pullup resistor:
pinMode(2, INPUT_PULLUP);
}
void loop() {
// read the first pushbutton:
int buttonState = digitalRead(2);
// if it's changed and it's high, toggle the mouse state:
if (buttonState != lastButtonState) {
if (buttonState == HIGH) {
// if mouseIsActive is true, make it false;
// if it's false, make it true:
mouseIsActive = !mouseIsActive;
Serial.print("Mouse control state" );
Serial.println(mouseIsActive);
}
}
// save button state for next comparison:
lastButtonState = buttonState;
// read the analog sensors:
int sensor1 = analogRead(A0);
delay(1);
int sensor2 = analogRead(A1);
int xAxis = map(sensor1, 0, 1023, -5, 5);
int yAxis = map(sensor2, 0, 1023, -5, 5);
// print their values. Remove this when you have things working:
Serial.print(xAxis);
Serial.print(" ");
Serial.println(yAxis);
if (mouseIsActive == true) {
Mouse.move(xAxis, yAxis, 0);
// read the second pushbutton:
int button2State = digitalRead(3);
// if it's changed and it's high, toggle the mouse state:
if (button2State != lastButton2State) {
if (button2State == LOW) {
Serial.println("mouse pressed");
Mouse.press();
}
else {
Serial.println("mouse released");
Mouse.release();
}
}
// save second button state for next comparison:
lastButton2State = button2State;
}
}
Tuesday, November 17, 2015
Mini Project
On my previous post I stated my idea and how I was going to achieve that. Katerie alerted me that if I was to get arduino and processing to successful communicate and get some sort of hardware to aid in that handshake (my potentiometer) then that would be sufficient enough. My mini project is basically a smaller and more simplified version of what I intend to do for my final project, dealing with human interaction and synesthesia. Hope you guys enough:)
Sunday, November 15, 2015
Progress
Instead of just having a plain monitor I wanted to add on to that idea of human interaction by possibly creating a sculpture in an abstract form of a person. I have the basic idea of how I want it to look but I havent figured out what materials to use quite yet.
Feedback on this would be great.
Mini Project
For this mini project, my main thing was to get arduino and processing to communicate. If you seen my previous progress post then WOO-HOO you've seen me succeed at getting the communication to work. Although I got that to work I couldn't figure out how to get the ir or pir sensors to work with both arduino and processing. I would get the sensors to work in the serial monitor of arduino but once it got to the point of moving it into processing, it was an EPIC fail. So because I tackled my biggest goal in only 5 days -_- (communication ("handshake") between the two programs) I decided to try and use some piece of hardware that could be read in arduino and transferred into processing. For this mini project, I chose to use a potentiometer. Human interaction is a concept and experience that I want to explore along with the idea of creating Synesthesia.
My main issue is figuring out how to use the potentiometer as a mouse only within the sketch window. Because I did it and my mouse began to malfunction.
What I came up with.....
Combining Code for Mini and Final

Communication between Arduino and Processing
 Using the potentiometer to control an image
 My Combination of code

Sources:
https://forum.processing.org/one/topic/controlling-mouse-cursor-using-potentiometers.html
http://codasign.com/tutorials/etch-a-sketch-project/etch-a-sketch-putting-it-all-together/
https://chalmersphyscomp10.files.wordpress.com/2010/08/sketch_final.png
http://arduinobasics.blogspot.com/2013/12/pir-sensor-part-2.html
https://forum.processing.org/two/discussion/8343/sharp-ir-sensor-in-arduino-processing
http://communityofrobots.com/tutorial/kawal/how-use-sharp-ir-sensor-arduino#?1#?1#WebrootPlugIn#?1#?1#PhreshPhish#?1#?1#agtpwd
http://garagelab.com/profiles/blogs/tutorial-how-to-use-the-pir-passive-infrared-sensor-with-arduino
http://www.intorobotics.com/use-infraredir-sensors-tutorials/
http://www.robotshop.com/blog/en/arduino-5-minute-tutorials-lesson-4-ir-distance-sensor-push-button-2-3637
My main issue is figuring out how to use the potentiometer as a mouse only within the sketch window. Because I did it and my mouse began to malfunction.
What I came up with.....
Combining Code for Mini and Final

Communication between Arduino and Processing


Sources:
https://forum.processing.org/one/topic/controlling-mouse-cursor-using-potentiometers.html
http://codasign.com/tutorials/etch-a-sketch-project/etch-a-sketch-putting-it-all-together/
https://chalmersphyscomp10.files.wordpress.com/2010/08/sketch_final.png
http://arduinobasics.blogspot.com/2013/12/pir-sensor-part-2.html
https://forum.processing.org/two/discussion/8343/sharp-ir-sensor-in-arduino-processing
http://communityofrobots.com/tutorial/kawal/how-use-sharp-ir-sensor-arduino#?1#?1#WebrootPlugIn#?1#?1#PhreshPhish#?1#?1#agtpwd
http://garagelab.com/profiles/blogs/tutorial-how-to-use-the-pir-passive-infrared-sensor-with-arduino
http://www.intorobotics.com/use-infraredir-sensors-tutorials/
http://www.robotshop.com/blog/en/arduino-5-minute-tutorials-lesson-4-ir-distance-sensor-push-button-2-3637
Progress
Going to use potentiometer if I can't get the sensors to work. The potentiometer will control the video synth and make it even more interactive.
Friday, November 13, 2015
Process
Arduino and Processing communication
Code for Arduino
char val; // Data received from the serial port
int ledPin = 13; // Set the pin to digital I/O 13
boolean ledState = LOW; //to toggle our LED
void setup()
{
pinMode(ledPin, OUTPUT); // Set pin as OUTPUT
//initialize serial communications at a 9600 baud rate
Serial.begin(9600);
establishContact(); // send a byte to establish contact until receiver responds
}
void loop()
{
if (Serial.available() > 0) { // If data is available to read,
val = Serial.read(); // read it and store it in val
if(val == '1') //if we get a 1
{
ledState = !ledState; //flip the ledState
digitalWrite(ledPin, ledState);
}
delay(100);
}
else {
Serial.println("Please, WORK!"); //send back a hello world
delay(50);
}
}
void establishContact() {
while (Serial.available() <= 0) {
Serial.println("A"); // send a capital A
delay(300);
}
}
Code for Processing
import processing.serial.*; //import the Serial library
Serial myPort; //the Serial port object
String val;
// since we're doing serial handshaking,
// we need to check if we've heard from the microcontroller
boolean firstContact = false;
void setup() {
size(200, 200); //make our canvas 200 x 200 pixels big
// initialize your serial port and set the baud rate to 9600
myPort = new Serial(this, Serial.list()[2], 9600);
myPort.bufferUntil('\n');
}
void draw() {
//we can leave the draw method empty,
//because all our programming happens in the serialEvent (see below)
}
void serialEvent( Serial myPort) {
//put the incoming data into a String -
//the '\n' is our end delimiter indicating the end of a complete packet
val = myPort.readStringUntil('\n');
//make sure our data isn't empty before continuing
if (val != null) {
//trim whitespace and formatting characters (like carriage return)
val = trim(val);
println(val);
//look for our 'A' string to start the handshake
//if it's there, clear the buffer, and send a request for data
if (firstContact == false) {
if (val.equals("A")) {
myPort.clear();
firstContact = true;
myPort.write("A");
println("contact");
}
}
else { //if we've already established contact, keep getting and parsing data
println(val);
if (mousePressed == true)
{ //if we clicked in the window
myPort.write('1'); //send a 1
println("1");
}
// when you've parsed the data you have, ask for more:
myPort.write("A");
}
}
}
Wednesday, November 11, 2015
Sky Craft Scavenger hunt pictures:
Scavenger Hunt


Please take a picture of each item on the scavenger hunt using your phone. You may work in pairs. You need also to take some notes getting serial numbers and label text so that you can learn more about the item and its specs when you get home. Post small sized pictures and text describing objects on blog. I need enough information to know what it is. Have fun!
Please locate 4 different kinds of LEDs. Look up the voltage and amp specs for each. 2 points


Find two giant capacitors.1 point


Find two devices that contain solar panels and tell me what they are. 1 point


Find a breadboard. .5 point


Find 5 devices that contain sensors and tell me what they do. 2.5 for devices what they do 3 for total of 3 points


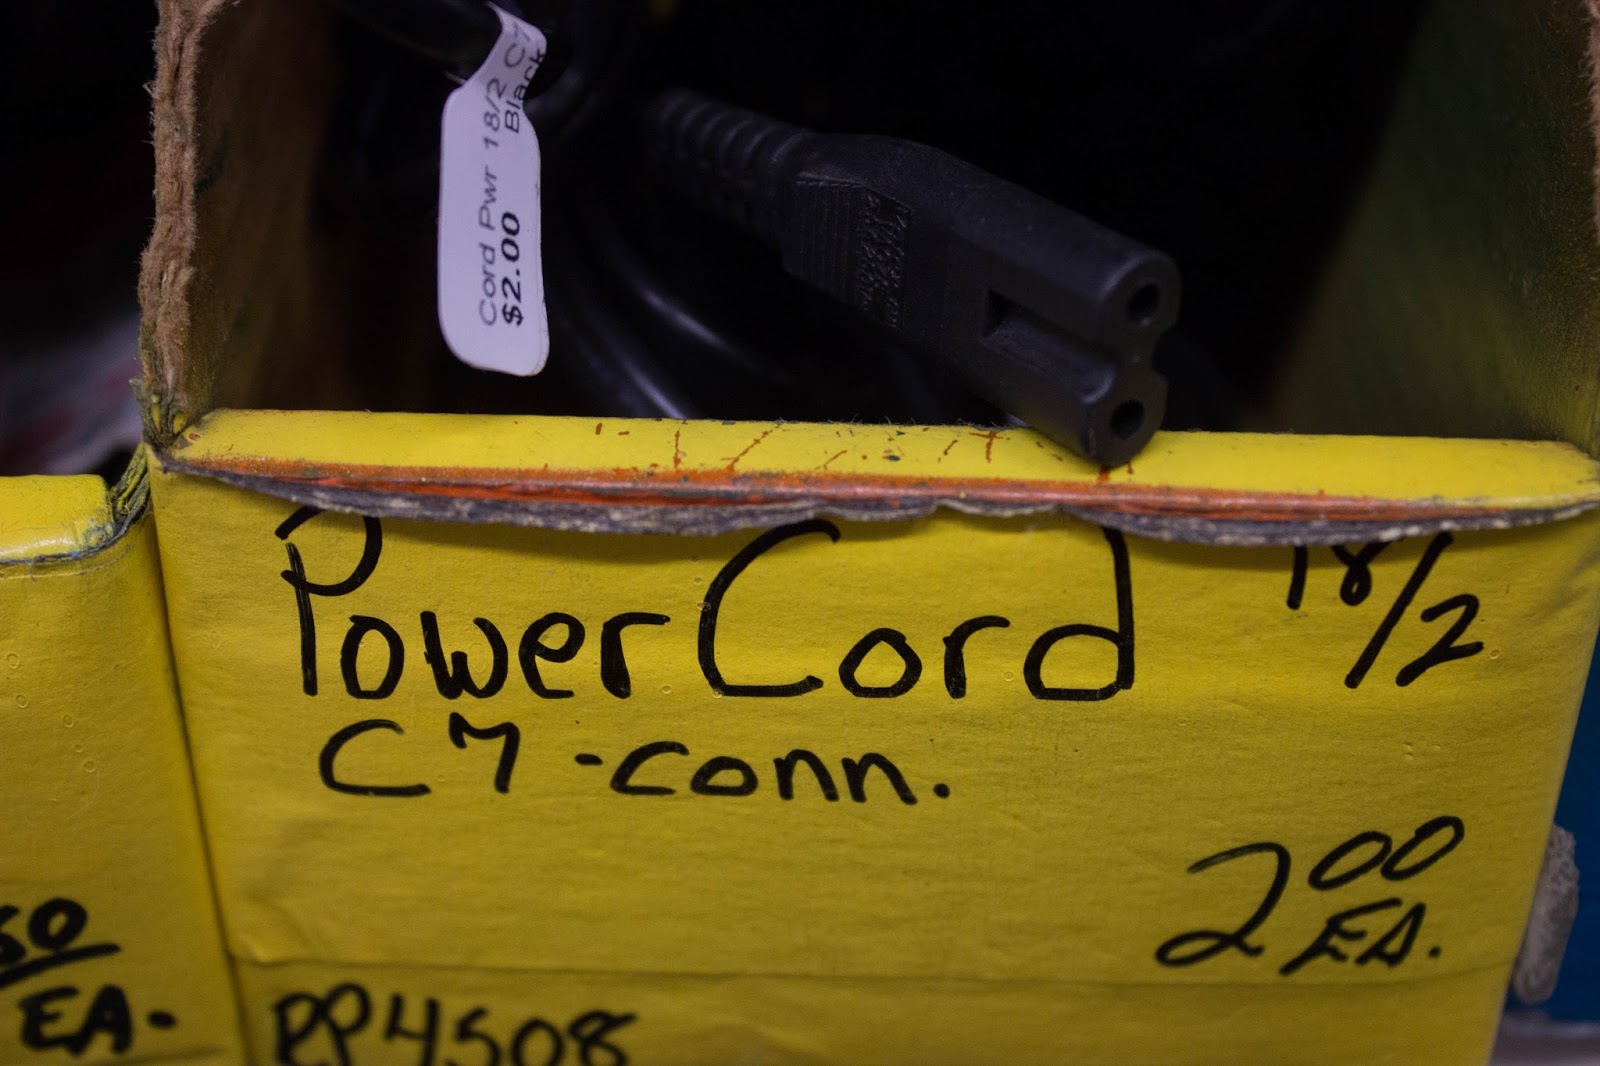
Find 6 different kinds of cables and give me specs of each size in gauge. Also look up what each kind




Find a remote control. .5 points

Locate an electronics kit. What does it do? .5 points

Find a solderable perf board. You might want to purchase some of these. .5 points

Find 5 different motors and describe each. Locate their serial numbers and look up what they might be used for. Please tell me if they are DC motors, servo motors, AC/DC motors or stepper motors. 3 including descriptions


Find 3 types of camera or optical devices. 1.5 points


Find three devices that deliberately (sound production is part of their function) produce sound and tell me what they are. . 2 points including what they do


Find five different kinds of potentiometers or variable resistors. What is their range of voltages? What are they used for? 3 points including what they are used for


Find three different types of magnets. 1.5 points


Find a device that counts. .5 points

Find an LCD panel. .5 points


Find 6 things that are really interesting to you that you might want to use in a project. 3 points


Subscribe to:
Posts (Atom)