
Showing posts with label Mini Project 2. Show all posts
Showing posts with label Mini Project 2. Show all posts
Monday, November 30, 2015

Friday, November 27, 2015
Project 2
Just about all my project two information is combined in this post to keep things more organized. Sorry it's a little long.
This project is about both surveillance and the obsession with recording a moment in time. Everyone wants to capture that Kodak moment. But feel like it’s strange when they are being recorded or watched.
With this project I used an ultrasonic proximity sensor and I had an interface that I set up that looked like a camera. I used this camera template below and used a box to create a very realistic camera. I put the sensor in the camera.

So this is how it works, I have a code that is allowing Processing and Arduino to communicate with each other. The processing code allows the webcam to come on and as you get closer the webcam freezes.
It amazing how the viewer interacts with this piece. Many people pass by and think they are getting a picture taken. They pose and assume it's taking a picture. I love this because I want the view to question how this project is about surveillance. They have a webcam on them, watching them. Yet they pose and think it's a time to be the center of attention.
For the Arduino portion of the code I used Figure 3-8: Temperature sensor circuit, check it out below:

In the setup I have my macbook, ipod, iphone, and "camera."
I had the webcam setup to look like facetime.

Here is my source:
http://art-tech.arts.ufl.edu/~tstorey/wiki/S15-Programming/Wynn
Much of this code is from when I took Programming for Artist in the spring.
Here is the Processing portion of the code:


Here is the Arduino portion of the code:


Here is the console of Processing and Serial Monitor of Arduino:


Here is a behind the scene clip:


I'm using the same technology and code for my final project. So when going into my prototype I wanted to use the proximity sensor and make it change a visual.
Here is my source:
https://www.arduino.cc/en/Tutorial/Graph
https://learn.sparkfun.com/tutorials/connecting-arduino-to-processing
Here is the prototype code and screenshot:


Video of prototype:
Here are more clips of the project:
Other thoughts:
So Charlie mentioned that I could use some of my concept for this project with my final project because it's something the audience is interested in. He also suggested that I make the camera take real photos. I think this is going into another realm for the concept but it's something to think about.
Here is the Fritzing I made it will be very close for my final project:

Here is the Fritzing I made it will be very close for my final project:

Mini Project turning into Final Project
For my mini project/final project i discovered it would be easier to use joysticks as long as i could figure out how to use it as a mouse control....which i did (see video below)
With this i feel that although using a joystick would be easier it also helps push my concept even more because of the direct human interaction.
// Global varibles:
int lastButtonState = LOW; // state of the button last time you checked
int lastButton2State = LOW; // state of the other button last time you checked
boolean mouseIsActive = false; // whether or not the Arduino is controlling the mouse
void setup() {
// initialize mouse control:
Mouse.begin();
// initialize serial communication:
Serial.begin(9600);
// make pin 2 an input, using the built-in pullup resistor:
pinMode(2, INPUT_PULLUP);
}
void loop() {
// read the first pushbutton:
int buttonState = digitalRead(2);
// if it's changed and it's high, toggle the mouse state:
if (buttonState != lastButtonState) {
if (buttonState == HIGH) {
// if mouseIsActive is true, make it false;
// if it's false, make it true:
mouseIsActive = !mouseIsActive;
Serial.print("Mouse control state" );
Serial.println(mouseIsActive);
}
}
// save button state for next comparison:
lastButtonState = buttonState;
// read the analog sensors:
int sensor1 = analogRead(A0);
delay(1);
int sensor2 = analogRead(A1);
int xAxis = map(sensor1, 0, 1023, -5, 5);
int yAxis = map(sensor2, 0, 1023, -5, 5);
// print their values. Remove this when you have things working:
Serial.print(xAxis);
Serial.print(" ");
Serial.println(yAxis);
if (mouseIsActive == true) {
Mouse.move(xAxis, yAxis, 0);
// read the second pushbutton:
int button2State = digitalRead(3);
// if it's changed and it's high, toggle the mouse state:
if (button2State != lastButton2State) {
if (button2State == LOW) {
Serial.println("mouse pressed");
Mouse.press();
}
else {
Serial.println("mouse released");
Mouse.release();
}
}
// save second button state for next comparison:
lastButton2State = button2State;
}
}
*what i liked about the importing the arduino sketch into processing is that you dont have to work around or worry about editing your code to be blended with the processing code. You can leave them as two separate entities and just tie them together with the import declaration.
// Global varibles:
int lastButtonState = LOW; // state of the button last time you checked
int lastButton2State = LOW; // state of the other button last time you checked
boolean mouseIsActive = false; // whether or not the Arduino is controlling the mouse
void setup() {
// initialize mouse control:
Mouse.begin();
// initialize serial communication:
Serial.begin(9600);
// make pin 2 an input, using the built-in pullup resistor:
pinMode(2, INPUT_PULLUP);
}
void loop() {
// read the first pushbutton:
int buttonState = digitalRead(2);
// if it's changed and it's high, toggle the mouse state:
if (buttonState != lastButtonState) {
if (buttonState == HIGH) {
// if mouseIsActive is true, make it false;
// if it's false, make it true:
mouseIsActive = !mouseIsActive;
Serial.print("Mouse control state" );
Serial.println(mouseIsActive);
}
}
// save button state for next comparison:
lastButtonState = buttonState;
// read the analog sensors:
int sensor1 = analogRead(A0);
delay(1);
int sensor2 = analogRead(A1);
int xAxis = map(sensor1, 0, 1023, -5, 5);
int yAxis = map(sensor2, 0, 1023, -5, 5);
// print their values. Remove this when you have things working:
Serial.print(xAxis);
Serial.print(" ");
Serial.println(yAxis);
if (mouseIsActive == true) {
Mouse.move(xAxis, yAxis, 0);
// read the second pushbutton:
int button2State = digitalRead(3);
// if it's changed and it's high, toggle the mouse state:
if (button2State != lastButton2State) {
if (button2State == LOW) {
Serial.println("mouse pressed");
Mouse.press();
}
else {
Serial.println("mouse released");
Mouse.release();
}
}
// save second button state for next comparison:
lastButton2State = button2State;
}
}
Sunday, November 22, 2015
Mini Project Deux
For this Mini Project, I decided to use the new PIR sensors we've received, as these are the sensors Kelsey and I would be using for our final project. The sensor, though simple in notion, proved rather difficult to work in the manner I wanted it to. After some fiddling, and long ended prayers I was finally able to get the sensor to somewhat work, though definite evaluation of the code will be necessary to make sure that everything runs well. I chose to make an interface that would alert everyone when someone took a cookie, especially when they aren't suppose to. I'm not particularly fond of Oreos, but my brother loves them. Now my mother knows each time he takes one before dinner...


Below in this video I demonstrate and explain the ways in which the sketch works, as well as the passive infrared sensor.
The pictures below show my interface, as well as the video indicates how the sensor works when applied to everyday mechanics.


Kayla Evans 11/22 Second Mini-Project
From Wednesday's crit of the second mini-project.
Here are links to documentation of my second mini-project:
https://vimeo.com/146580279
https://vimeo.com/146580277
Sifting through ash in hourglass causes feather to sweep ash away and reveal text, written on the bottom of the box. However, dust sensor doesn't accurately read.
Here are links to documentation of my second mini-project:
https://vimeo.com/146580279
https://vimeo.com/146580277
Sifting through ash in hourglass causes feather to sweep ash away and reveal text, written on the bottom of the box. However, dust sensor doesn't accurately read.
Tuesday, November 17, 2015
Mini Project 2
INSPIRATION
Oribotics [the future unfolds] from Matthew Gardiner on Vimeo.
One Hundred and Eight – Animated Patterns from Nils Völker on Vimeo.
BUILDING THE CIRCUIT

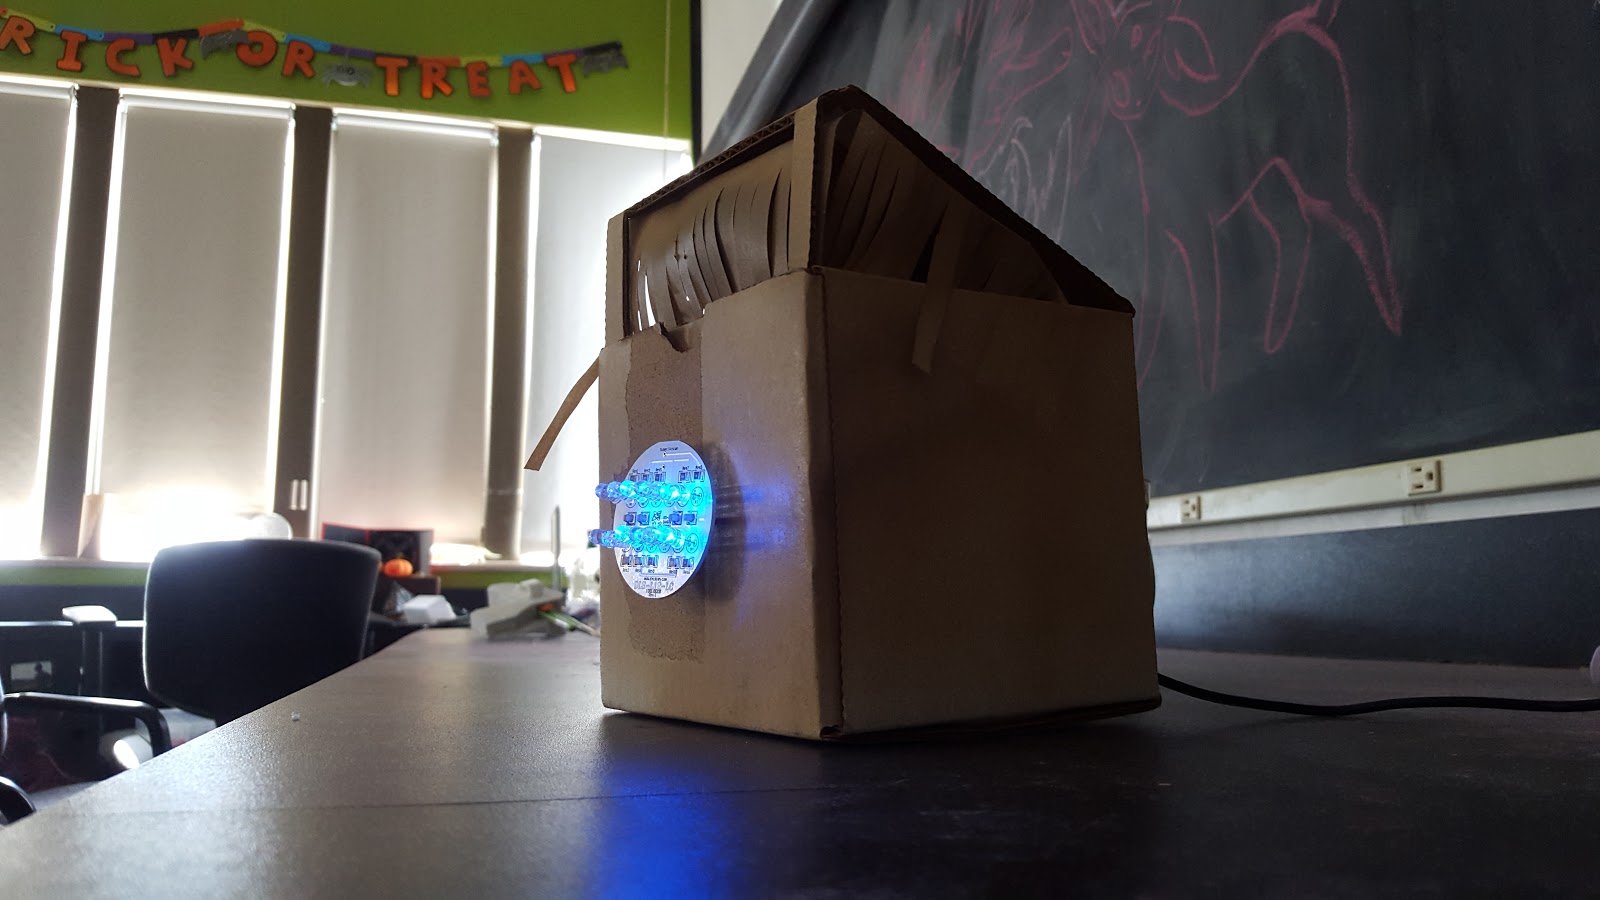
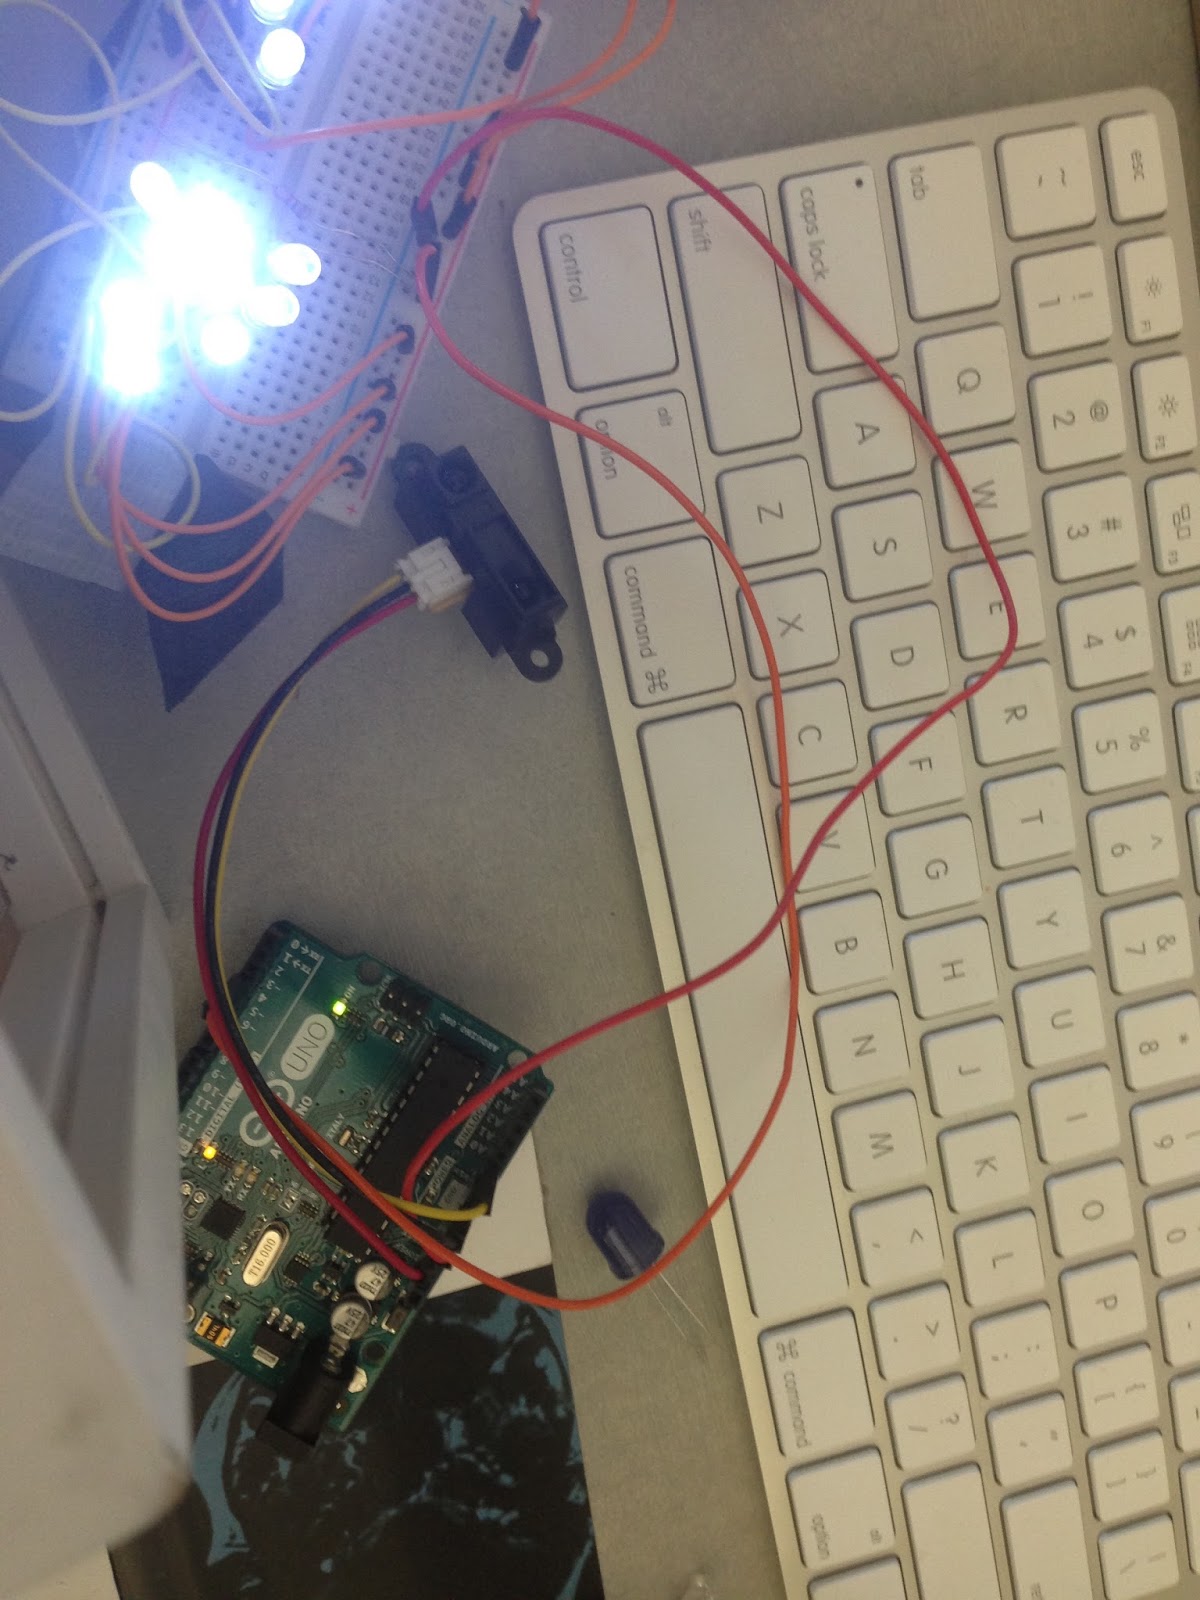
I attatched a wind sensor to the set up of the temperature alert sketch. I also used an LED disk (Supervision) that I found at Skycraft that works the same way an rgb LED functions.
I soldered the wires to the LED disk and soldered pins to the wind sensor to hold it in place and then I pluged both of these into the breadboard.
BUILDING THE INTERFACE


I wanted to hide the breadboard and arduino board and built a box that would only display the LEDs. I used velum paper so that you can see the movement as you talk into the box.
FINAL OUTCOME
Fritzing Mini Projects 2: George Banks
This is the frizzing of my mini project made on the frizzing app.

Mini Project 2 Video
Going with the theme of games to go along with my final project, My mini project is a game using LEDS. Its similar to rolling dice (but using lights instead) you push the button and a random number of lights (ranging from 1-6) lights up on the board. Have fun rolling dice, I mean switching on lights. No Gambling allowed.
Monday, November 16, 2015
Mini project 2
For my second mini project after testing many different paper and different materials to write on them, I figure out I can use my two words Mother and Madar on specific surface or paper that can have meaning and add some different concept to these words as well. I mean I make it out of just writing two words.


 I hope this project works very well I try hard because probably I need more strong LED lights and the sensor should work well . The challenging of this project is about the location of the board, LED lights, working on sensor that shows on handoff of LED very well and painting on sheet. I am working about delay or relation of sensor and making the light of LED. I hope for the final project I can find good material to write and paint on the proper paper and the sensor and lights work well to convey the message and concept .
I found my mom Xray MRI in 2008 and I was thinking that what if I would make a something like Xray memory box.( hopefully now she is fine). I wanted to write with different material on Xray sheet, and use two words together in one sheet. Because writing two different words on one sheet works better.
I use stencil for letters and try very hard to write and paint on Xray which is very hard process because I liked to write with some effects that is very close to images of Xray.
The concept was that the Xray sheet in too much light just shows the Xray image with out text and in dark with out light (LED) you can see the words.




Mini Project 2: Impact
Impact --||
My second mini project, a metaphor for human impact on an environment and how intervening in one area can can cause a chain reaction throughout an ecosystem. This project is composed of hand-crocheted flowers laced with conductive thread, a plush fabric landscape, and a lilypad arduino. When the first flower is touched, it 'dies', the light in it's center going out and causing a chain reaction throughout the other flowers.
 Video of the project in action:
Code (Under Read More):
My second mini project, a metaphor for human impact on an environment and how intervening in one area can can cause a chain reaction throughout an ecosystem. This project is composed of hand-crocheted flowers laced with conductive thread, a plush fabric landscape, and a lilypad arduino. When the first flower is touched, it 'dies', the light in it's center going out and causing a chain reaction throughout the other flowers.

Code (Under Read More):
Mini Project 2, Process 3 - Jen Herrera
A very process-oriented post, documenting the many steps I've taken to try and make this mini-project work.
The first thing I did was take the capacitive touch knowledge that I gathered from building my LED Matrix prototype, and use that to try and make one of my crochet flowers into a capacitive touch sensor. When touched, it's supposed to turn the light off!
Like in my prototype, using only one sensor, it works perfectly!


The first thing I did was take the capacitive touch knowledge that I gathered from building my LED Matrix prototype, and use that to try and make one of my crochet flowers into a capacitive touch sensor. When touched, it's supposed to turn the light off!
Like in my prototype, using only one sensor, it works perfectly!
So then, using a tutorial for making a capacitive touch piano, I sketched up what my wiring/ sewing circuit should look like. It gets really confusing when you add more sensors and have to translate all the wires into stitches that can't overlap..

And then I began sewing them in.

When put together, all of the lights work!

My only problem is that the capacitive touch can behave erratically, sometimes not turning off and then turning off after a long delay. Individual flowers don't usually turn off but work in a chain reaction from the first or second flower. I need to go back over everything and maybe look further into my code.
Subscribe to:
Posts (Atom)